Rob
Sd.Kfz 222
-
Rob Matthews

- Moderator
- Posts: 1202
- Joined: 20 Jul 2014, 00:06
- Location: Wiltshire UK
- Contact:
Re: Sd.Kfz 222
Great choice Adam - such an attractive vehicle. This is going to be good 
Rob
Rob
Modelling the mundane
Completed Campaigns:


Completed Campaigns:
-
Adam Durrant
- Senior Site Contributor.....

- Posts: 1791
- Joined: 22 Apr 2016, 05:41
- Location: Auckland, NZ
Re: Sd.Kfz 222
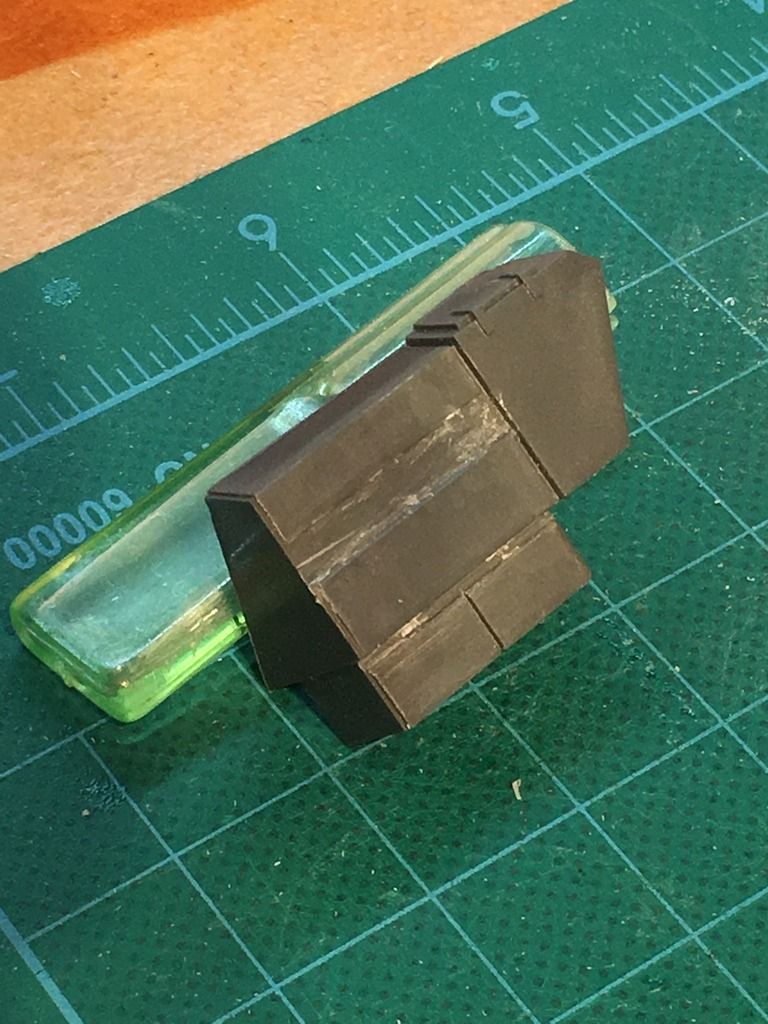
Made some progress this week. The kit plastic is very soft. This has made it easier to remove some of the details I suppose. Anyway, started with the wheels, no resin replacements in stock anywhere but the kit ones are OK and I've added valves with copper wire.

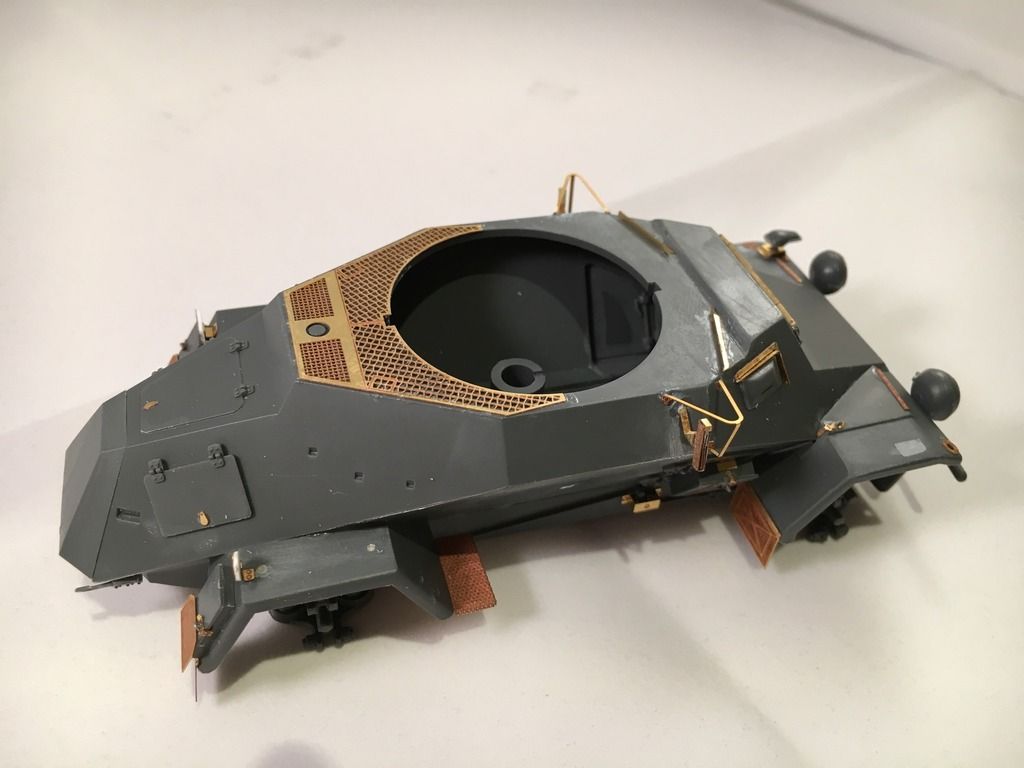
The Tamiya kit has a mid production shape but late production stowage and extras according to my research. This is OK, obviously equipment is updated and modified as the years go by, but wanting to do a Afrika Corps version I have backdated the stowage by removing the rear pannier and scratch building a new wall. The Eduard photo etch is good, but leaves out the "D" ring thingies from inside the hasps so have made these out of lead wire.
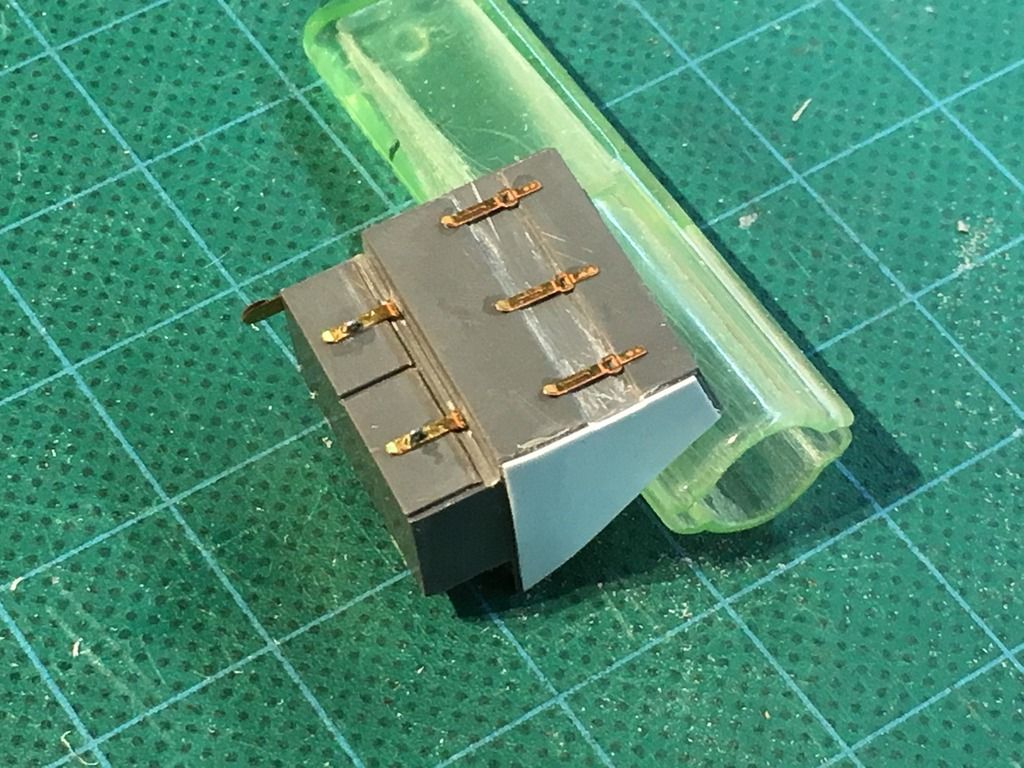
Got some free time this afternoon so hope to get a bit more done....
The Tamiya kit has a mid production shape but late production stowage and extras according to my research. This is OK, obviously equipment is updated and modified as the years go by, but wanting to do a Afrika Corps version I have backdated the stowage by removing the rear pannier and scratch building a new wall. The Eduard photo etch is good, but leaves out the "D" ring thingies from inside the hasps so have made these out of lead wire.
Got some free time this afternoon so hope to get a bit more done....
I'm a serial kit starter....
Completed Campaigns:


Completed Campaigns:
-
Raoul Kunz

- Senior Site Contributor.....
- Posts: 1655
- Joined: 20 Jul 2014, 01:16
- Location: Karben, next to Frankfurt, HRE
Re: Sd.Kfz 222
Very nice job of detailing the kit Adam!
It's essentially the level that I usually employ - some etch where necessary, especially on older kits - the locks on the stowage containers exempli gratia are just what a kit like this needs: a dose of sophistication added by us, the considerate modellers .
.
Best regards
Raoul G. Kunz
It's essentially the level that I usually employ - some etch where necessary, especially on older kits - the locks on the stowage containers exempli gratia are just what a kit like this needs: a dose of sophistication added by us, the considerate modellers
Best regards
Raoul G. Kunz
~fiat iustitia aut pereat mundus~
Completed Campaigns:


Completed Campaigns:
-
Adam Durrant
- Senior Site Contributor.....
- Posts: 1791
- Joined: 22 Apr 2016, 05:41
- Location: Auckland, NZ
Re: Sd.Kfz 222
Thanks Raoul.
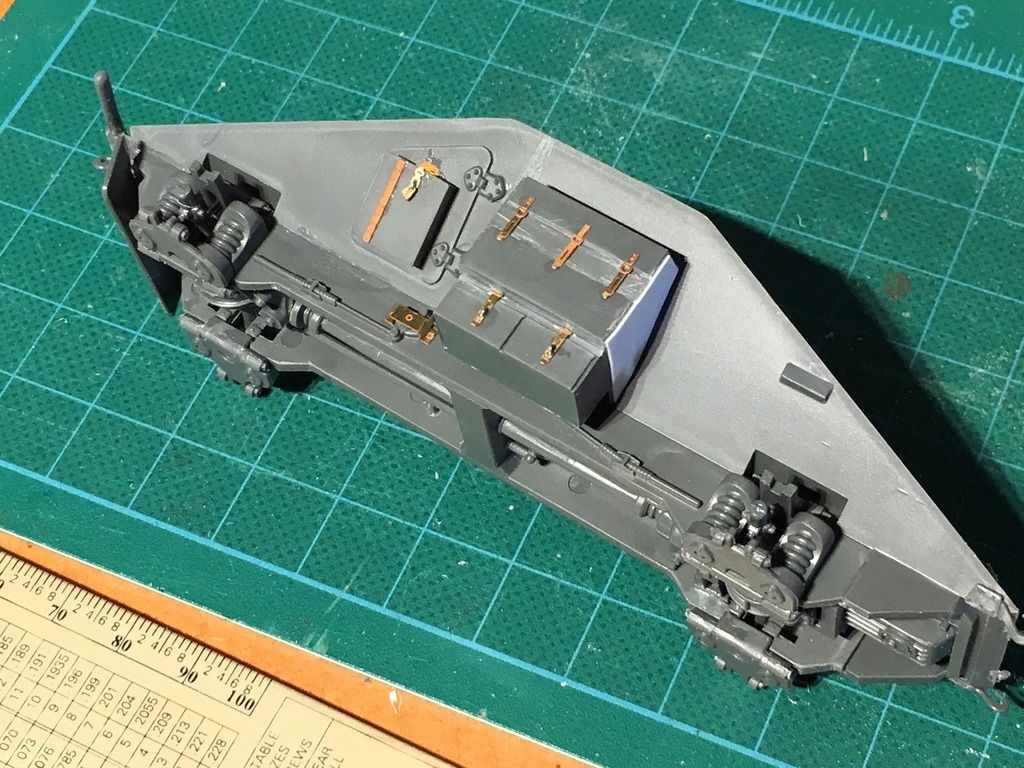
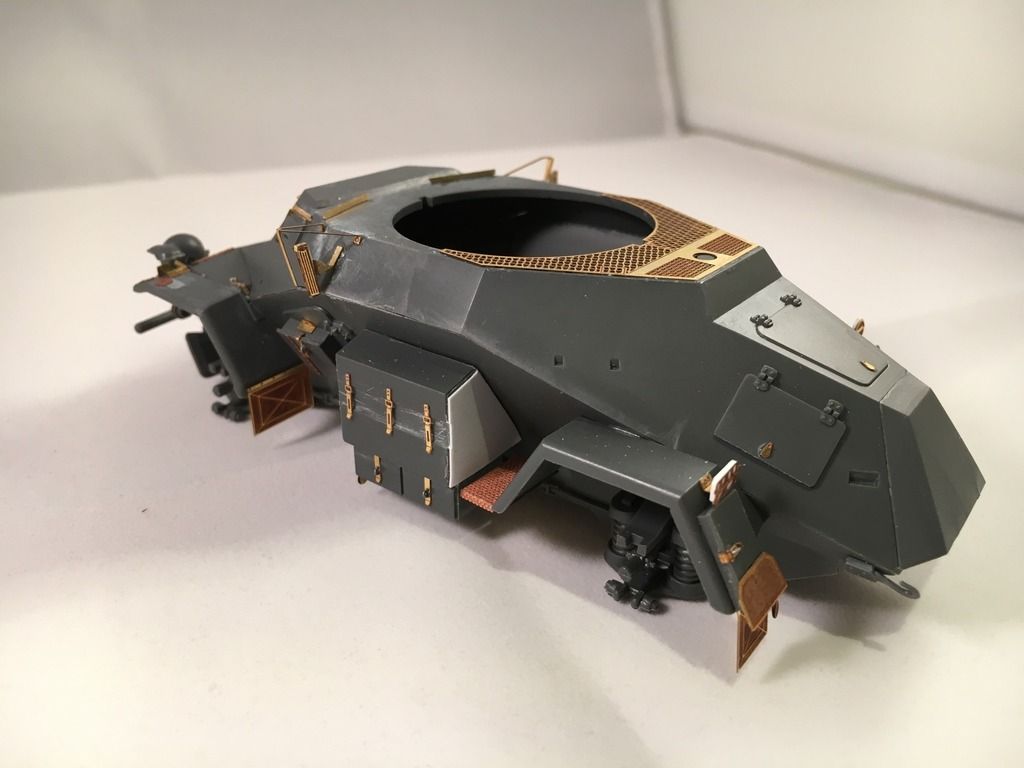
Managed to get a bit more building in this afternoon. The rear fenders needed a bit of modification to fit all the PE. I've filled all the locating holes for stowage with stretched sprue and CA as I'm rearranging where it will all go to fit a mid-production vehicle.
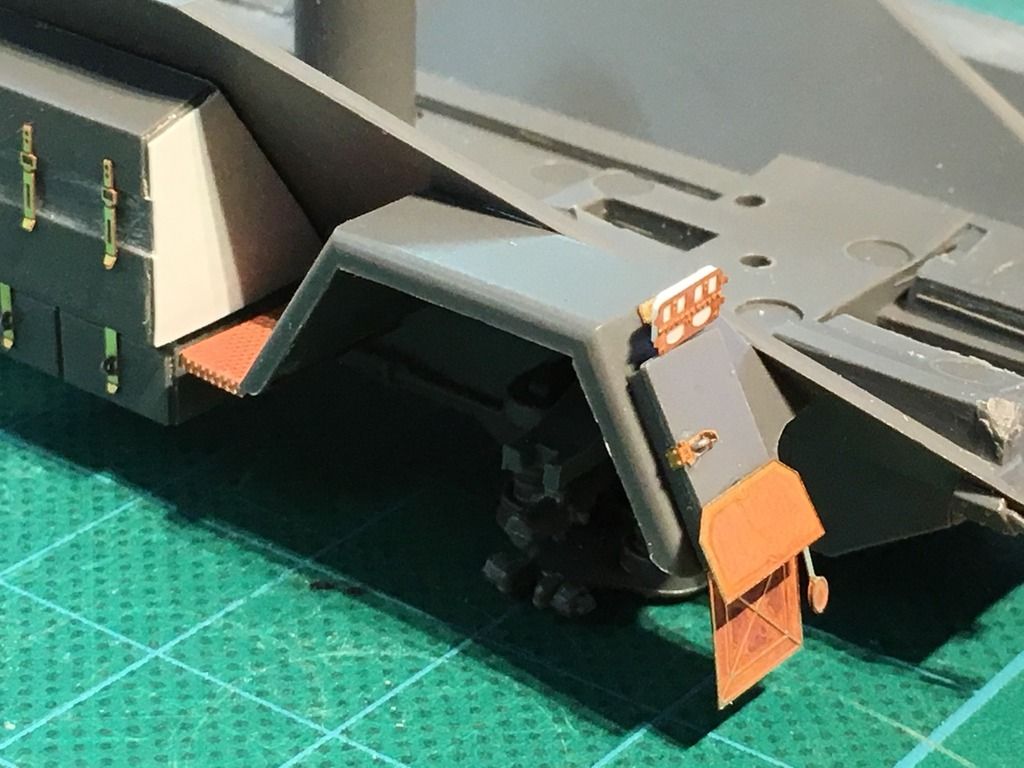
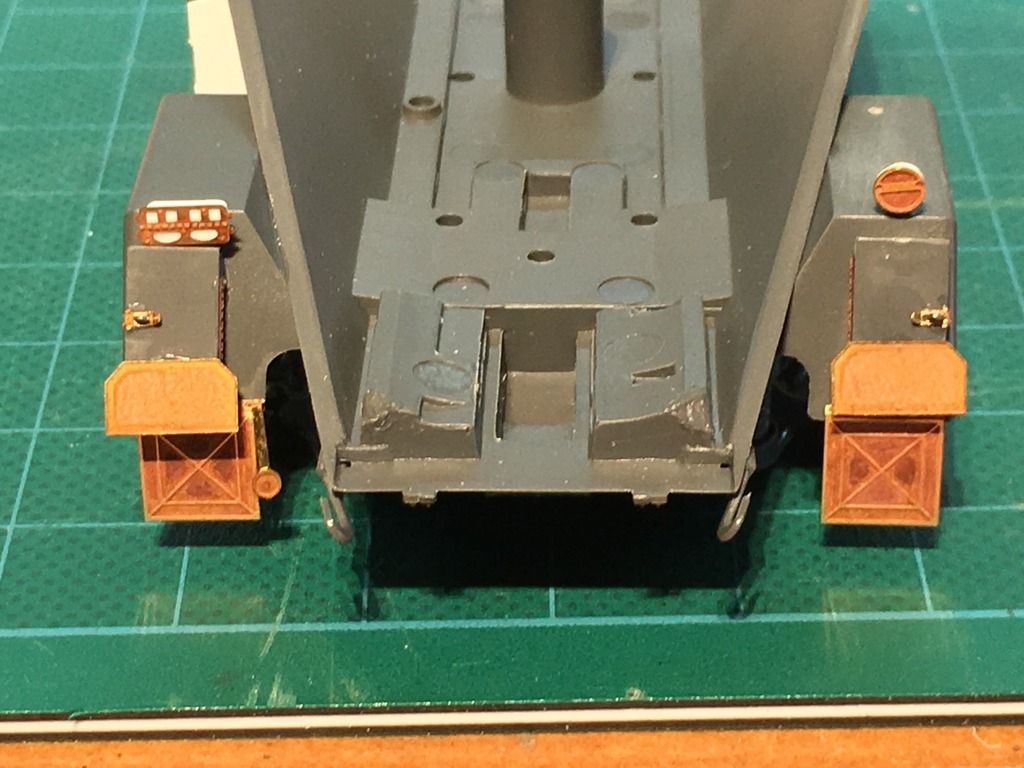
The jack has been modified and PE'd, the flat PE wing nuts looked wrong so replaced with some Bronco styrene ones.
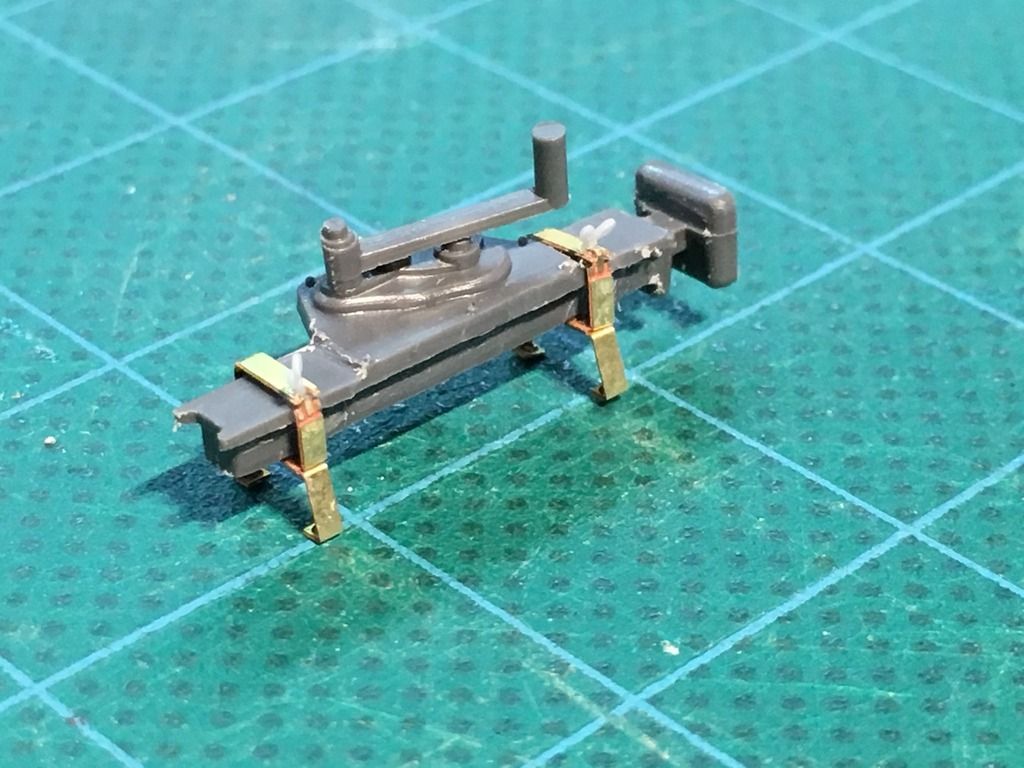
I find looking at the pictures is a good way to work out things you missed, I need to remove that mold line on the jack "foot"!
Next up is the gun and mount and a go at some soldering. If I don't post anything this week you can assume I burned the house down
Managed to get a bit more building in this afternoon. The rear fenders needed a bit of modification to fit all the PE. I've filled all the locating holes for stowage with stretched sprue and CA as I'm rearranging where it will all go to fit a mid-production vehicle.
The jack has been modified and PE'd, the flat PE wing nuts looked wrong so replaced with some Bronco styrene ones.
I find looking at the pictures is a good way to work out things you missed, I need to remove that mold line on the jack "foot"!
Next up is the gun and mount and a go at some soldering. If I don't post anything this week you can assume I burned the house down
I'm a serial kit starter....
Completed Campaigns:
Completed Campaigns:
-
Raoul Kunz
- Senior Site Contributor.....
- Posts: 1655
- Joined: 20 Jul 2014, 01:16
- Location: Karben, next to Frankfurt, HRE
Re: Sd.Kfz 222
Looking forward to the gun and it's mount - brilliant work so far!
For whatever reason I really like how you solved the wing-nuts - multi media ftw!
Best regards
Raoul G. Kunz
For whatever reason I really like how you solved the wing-nuts - multi media ftw!
Best regards
Raoul G. Kunz
~fiat iustitia aut pereat mundus~
Completed Campaigns:
Completed Campaigns:
-
Vincent Power

- Senior Site Contributor.....
- Posts: 2641
- Joined: 31 Jul 2014, 23:49
- Location: Melbourne Australia
Re: Sd.Kfz 222
That's good work on the PE Adam. I like what you have done so far. 
Cheers,
Vincent
Cheers,
Vincent
Completed Campaigns:

-
Shawn Ramsey

- Senior Site Contributor.....
- Posts: 1987
- Joined: 20 Jul 2014, 00:26
Re: Sd.Kfz 222
Adam- That is some impressive PE work you have done there. I'm following for sure.
Shawn
Shawn
Completed Campaigns:
-
Steve Hutchinson

- Senior Site Contributor.....
- Posts: 2263
- Joined: 20 Jul 2014, 08:27
- Location: Bradford West Yorkshire, UK
Re: Sd.Kfz 222
Nice work Adam,
hatches latches and lids, are always lifted with PE, but it is always really really small and frustrating to do, but so good when it is completed
Looking good
Steve H
hatches latches and lids, are always lifted with PE, but it is always really really small and frustrating to do, but so good when it is completed
Looking good
Steve H
""I need to be creative, to feel ALIVE!""
Completed Campaigns:
Completed Campaigns:
-
Adam Durrant
- Senior Site Contributor.....
- Posts: 1791
- Joined: 22 Apr 2016, 05:41
- Location: Auckland, NZ
Re: Sd.Kfz 222
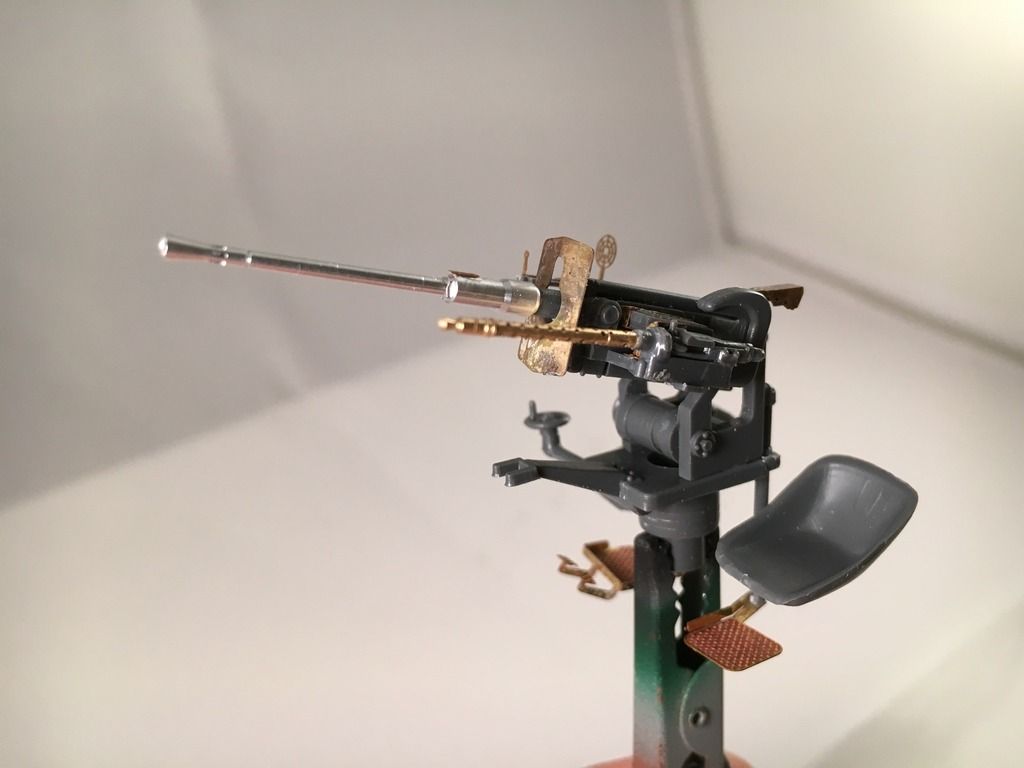
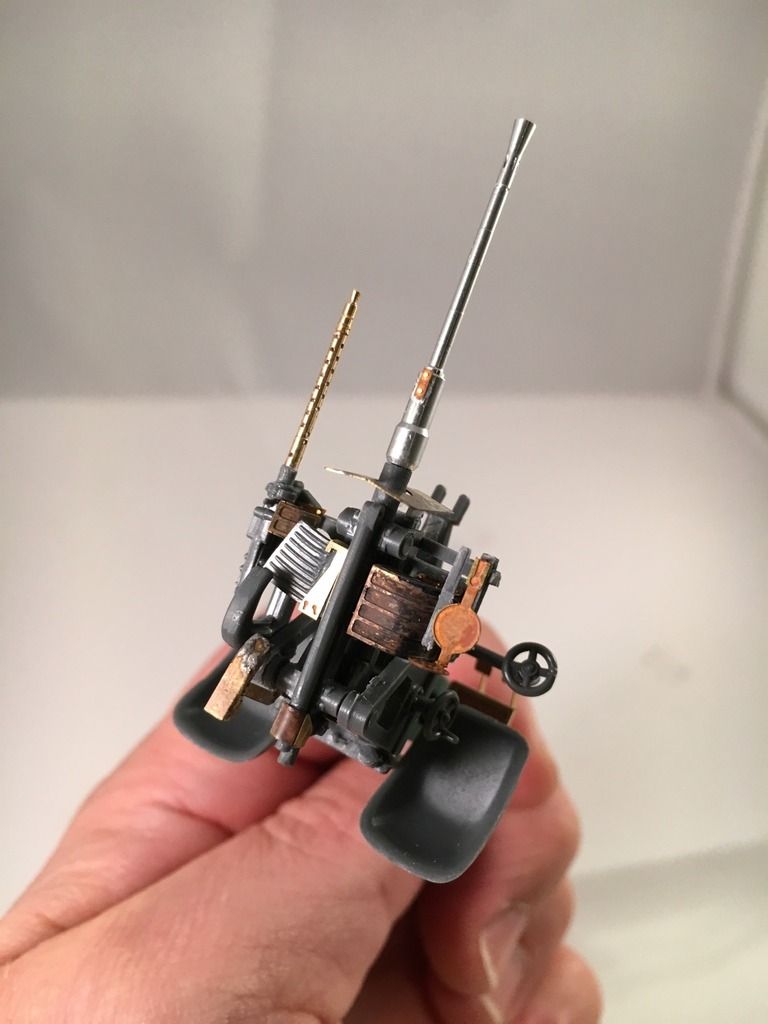
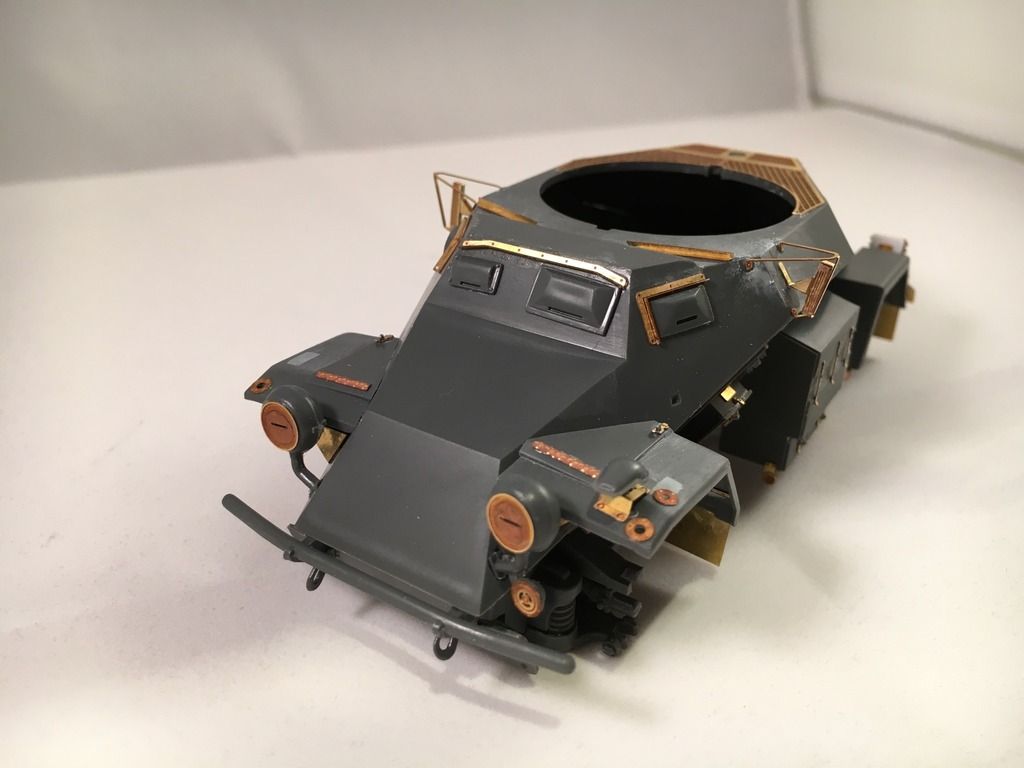
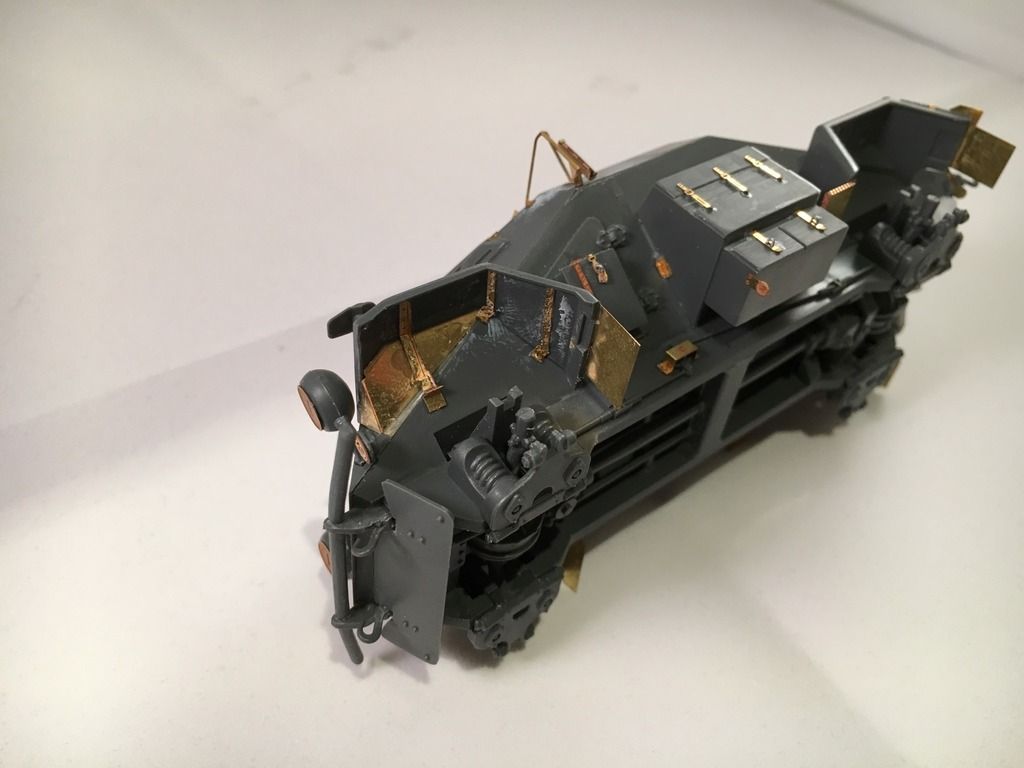
So have had a happy week of gluing PE to my fingers and setting fire to small parts with my soldering torch between work and family duties. The gun mount is all done, pleased with the parts I did manage to solder. The RB MG34 barrel is very nice and a huge step up from the kit one. The kit turned aluminium barrel was used as it is pretty tidy and more than enough for this scale.

Have glued the upper and lower halves of the hull together. Was hoping not to have to do this for ease of painting, but can't fit the fenders without upper and lower being together. The guards around the turn indicators looked suspicious to me so I soldered up one in brass rod patterning it off the PE one. Then did some research and found they were actually made of flat steel bar, so back to the Eduard ones! There was a fair amount of work to fit the braces under the fenders, and likely that it won't be seen.
Hoping to complete the turret this weekend. Slowly cleaning up the legend resin stowage. May be a hiatus here as seriously considering the retro group build and that will suck up all my time.
I'm a serial kit starter....
Completed Campaigns:
Completed Campaigns:
-
Philipp Gross

- Site Admin/Founder
- Posts: 5122
- Joined: 19 Jul 2014, 23:40
- Location: Frankfurt
- Contact: