For sure the next kit will be a pure OOTB so I can relax
ShM-120 PRAM
-
Olivier Carneau

- Senior Site Contributor.....

- Posts: 1178
- Joined: 24 Jul 2014, 09:40
- Location: Corrèze, Southern France
- Contact:
Re: ShM-120 PRAM
Thank you guys!
For sure the next kit will be a pure OOTB so I can relax
For sure the next kit will be a pure OOTB so I can relax
-
Shawn Ramsey

- Senior Site Contributor.....
- Posts: 1987
- Joined: 20 Jul 2014, 00:26
Re: ShM-120 PRAM
I always say that to, and it has yet to work out.Olivier Carneau wrote:Thank you guys!
For sure the next kit will be a pure OOTB so I can relax
Shawn
Completed Campaigns:


-
Olivier Carneau
- Senior Site Contributor.....
- Posts: 1178
- Joined: 24 Jul 2014, 09:40
- Location: Corrèze, Southern France
- Contact:
Re: ShM-120 PRAM
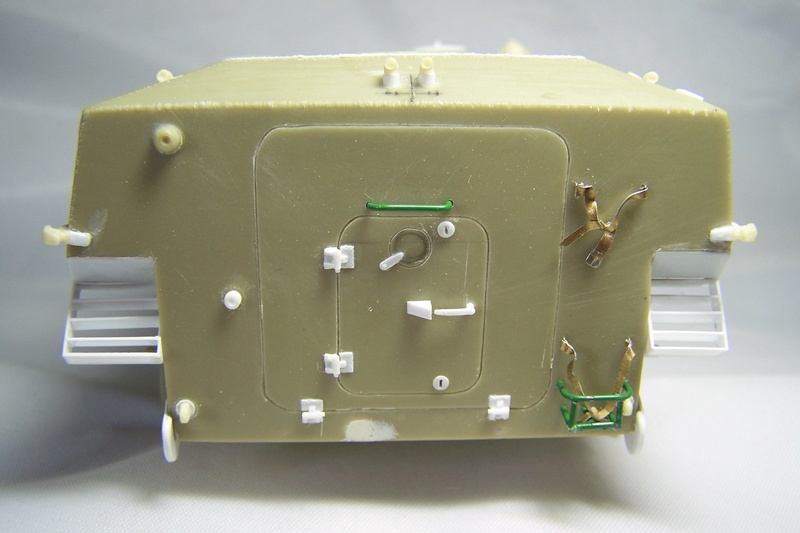
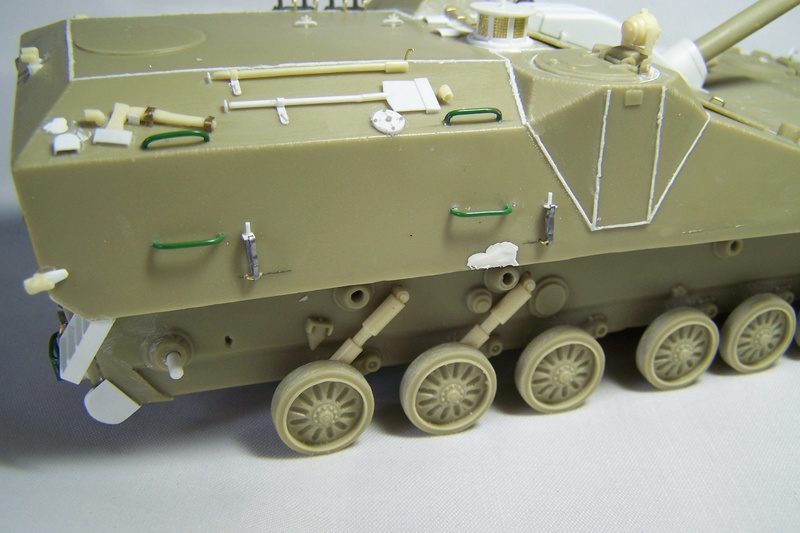
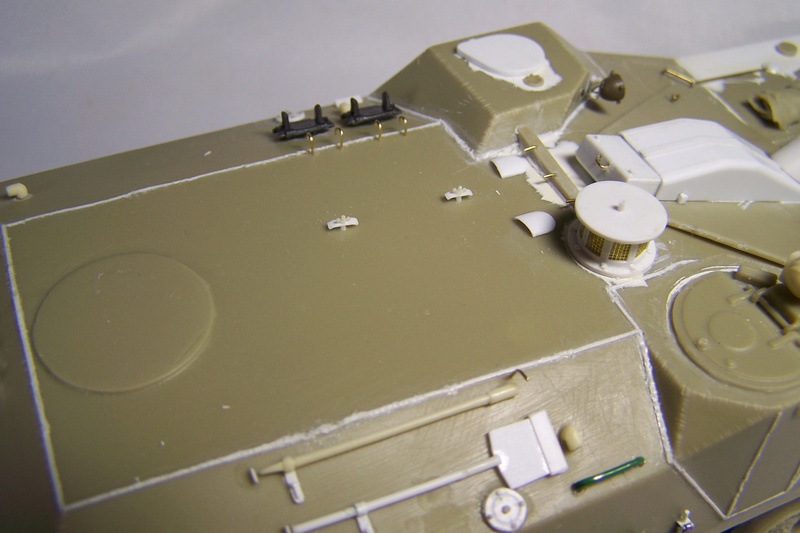
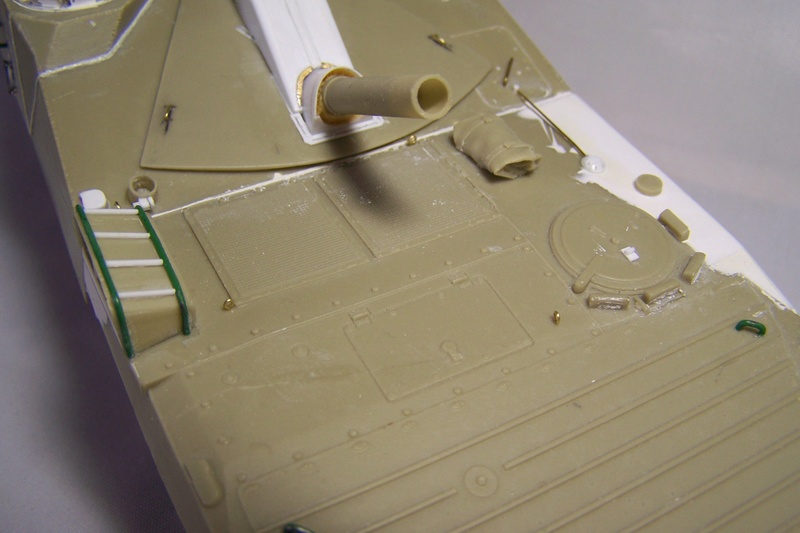
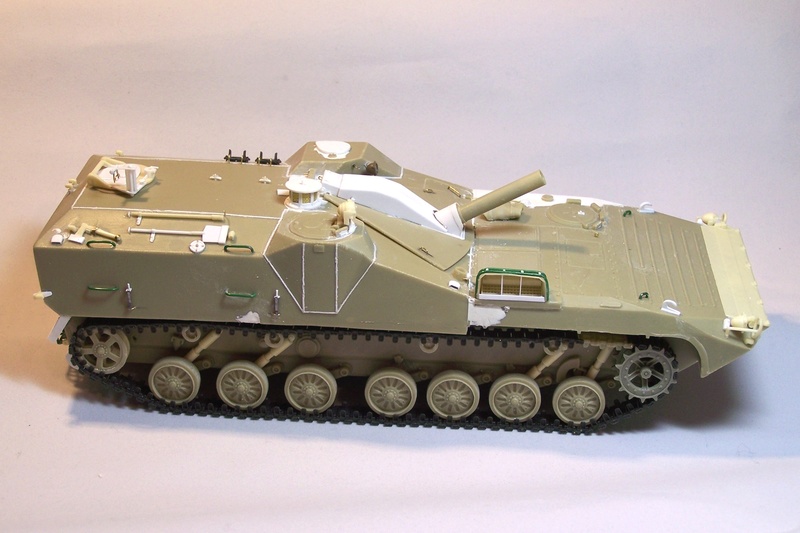
The last details have been added today. Now it's ready for the paint booth 
I also fixed the right side "water deflector" that showed an undesired angle.
Shawn, my next build will be the ROK K9 howitzer. Fortunately I have no documentation about it, so I will be able to resist to the superdetailing syndrome
I also fixed the right side "water deflector" that showed an undesired angle.
Shawn, my next build will be the ROK K9 howitzer. Fortunately I have no documentation about it, so I will be able to resist to the superdetailing syndrome
-
Olivier Carneau
- Senior Site Contributor.....
- Posts: 1178
- Joined: 24 Jul 2014, 09:40
- Location: Corrèze, Southern France
- Contact:
Re: ShM-120 PRAM
I call the build complete. The tracks are in place as they are a bit fragile and I fear that too much handling will cause some damage. The skirts will be added after the painting of the running gear.

A small size comparison with a well known vehicle.
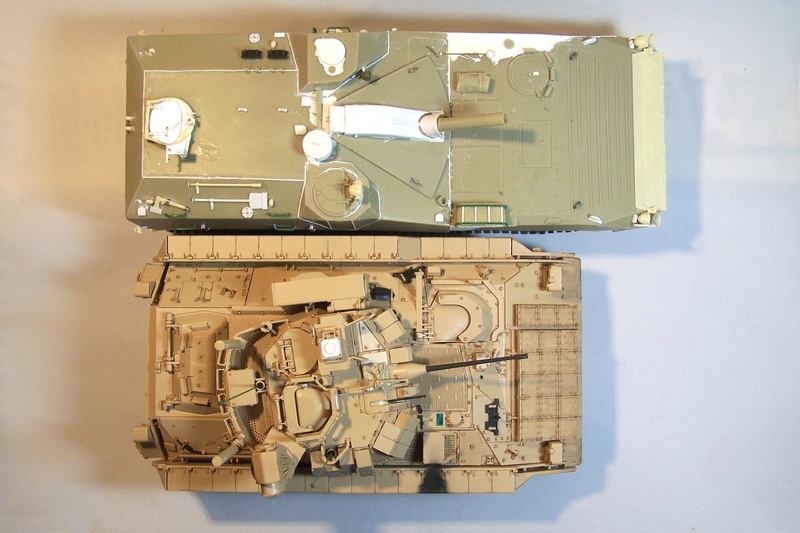
A small size comparison with a well known vehicle.
-
Olivier Carneau
- Senior Site Contributor.....
- Posts: 1178
- Joined: 24 Jul 2014, 09:40
- Location: Corrèze, Southern France
- Contact:
Re: ShM-120 PRAM
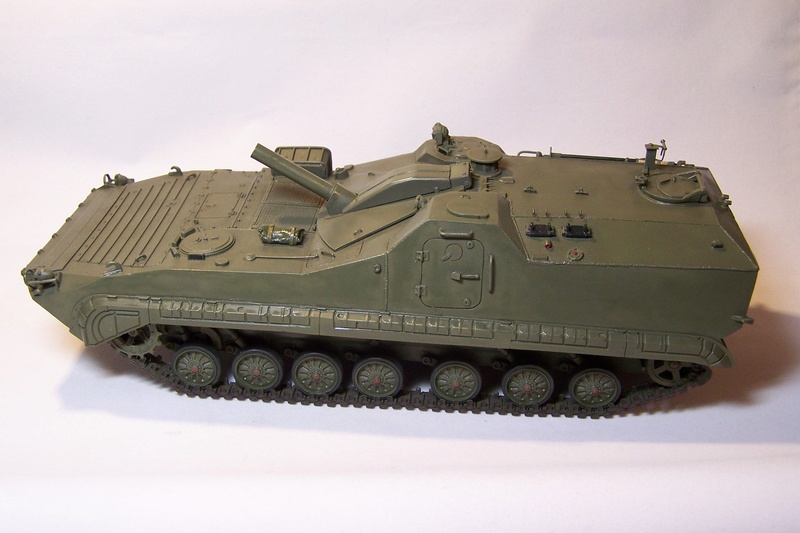
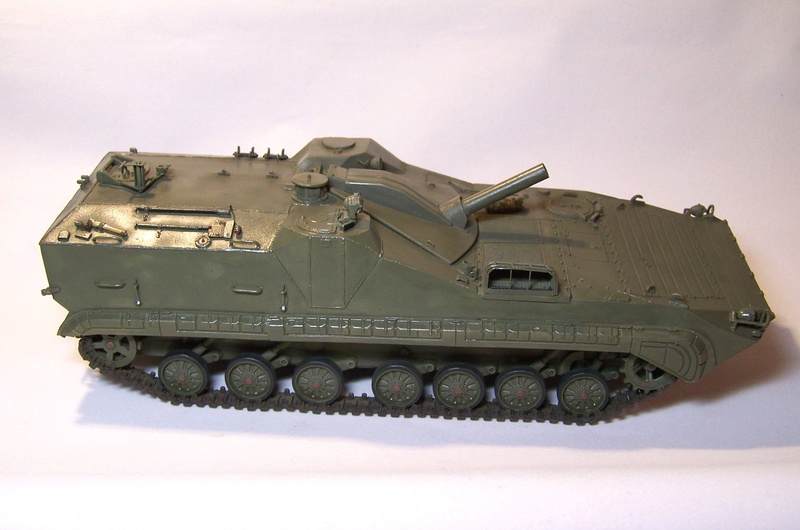
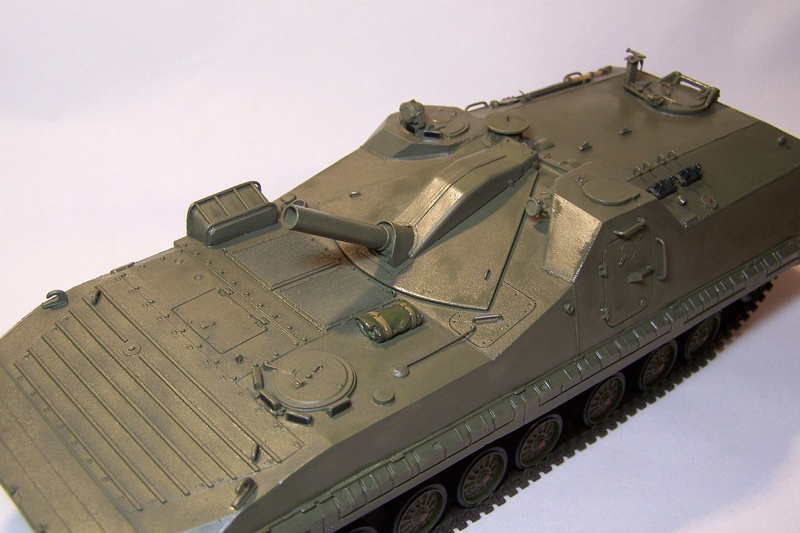
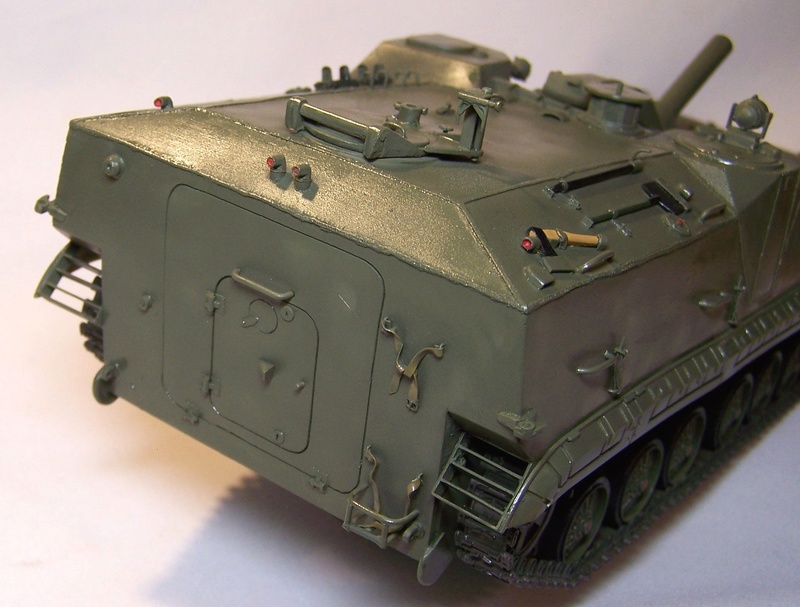
Hello all,
I'm not the fastest builder in this GB but I'm still in the race
Here are some pics of the vehicle ready for the application of decals.
I'm not the fastest builder in this GB but I'm still in the race
Here are some pics of the vehicle ready for the application of decals.
-
Philipp Gross

- Site Admin/Founder
- Posts: 5122
- Joined: 19 Jul 2014, 23:40
- Location: Frankfurt
- Contact:
Re: ShM-120 PRAM
With the paint on, you would have never guessed what a struggle it really was 
Cue new kit by Trumpeter in 3...2...1...
Philipp
Cue new kit by Trumpeter in 3...2...1...
Philipp
Completed Campaigns:


-
Adam Durrant
- Senior Site Contributor.....
- Posts: 1791
- Joined: 22 Apr 2016, 05:41
- Location: Auckland, NZ
Re: ShM-120 PRAM
Would be interesting to compare pics of this kit built straight OOB with your masterful rendition!
Adam
Adam
I'm a serial kit starter....
Completed Campaigns:


Completed Campaigns:
-
Steve Hutchinson

- Senior Site Contributor.....
- Posts: 2263
- Joined: 20 Jul 2014, 08:27
- Location: Bradford West Yorkshire, UK
Re: ShM-120 PRAM
Very nice Olivier 
How did you deal with the fenders in the end?
Steve H
How did you deal with the fenders in the end?
Steve H
""I need to be creative, to feel ALIVE!""
Completed Campaigns:
Completed Campaigns:
-
Olivier Carneau
- Senior Site Contributor.....
- Posts: 1178
- Joined: 24 Jul 2014, 09:40
- Location: Corrèze, Southern France
- Contact:
Re: ShM-120 PRAM
Thanks for the comments
Adam, you can compare with the picture in the instructions I posted in my initial post. It is black and white but you can see a bit of difference
Steve, I decided to saw off the molded on section and glue it to the front and end sections. For some reason they were not the same size and I needed to add thin strips of styrene on both egdes of the center section. When done, I reinforced the assembly by gluing some bits of styrene on the inner face where the sections join. I also had to shorten one section of the right fender to get the right length.
To get the things aligned properly, I started by gluing the front section with the help of cut outs in the Dragon front end then I glued the very end of the skirt to the water deflector. I secured the whole skirt from under with a knife and CA glue drops.
Philipp, wait for the end of the painting process to see Trumpeter coming with an announcement But I won't hold my breath for this one. The hull is an extended one and I don't think they'll bother creating a brand new modl for this. However, the ambulance version which is quite similar in shape but still with the orignal chassis could be a nice addition to their range.
Adam, you can compare with the picture in the instructions I posted in my initial post. It is black and white but you can see a bit of difference
Steve, I decided to saw off the molded on section and glue it to the front and end sections. For some reason they were not the same size and I needed to add thin strips of styrene on both egdes of the center section. When done, I reinforced the assembly by gluing some bits of styrene on the inner face where the sections join. I also had to shorten one section of the right fender to get the right length.
To get the things aligned properly, I started by gluing the front section with the help of cut outs in the Dragon front end then I glued the very end of the skirt to the water deflector. I secured the whole skirt from under with a knife and CA glue drops.
Philipp, wait for the end of the painting process to see Trumpeter coming with an announcement
-
Chris Smith
- Senior Site Contributor.....
- Posts: 666
- Joined: 22 Jul 2014, 20:59
Re: ShM-120 PRAM
It looks great with the paint on although it does cover up all that work you did
Chris
Chris
Completed Campaigns: